Stream Live Audio from Client to Server Using WebSocket & OkHttp
Introduction
A long time back, I was looking for a solution to send a live audio stream from an android device to a backend server. After lots of effort, I finally made it work.
In this article, you will learn how to stream live audio from client to server using OkHttp client & WebSocket.
Sponsored
We are what we repeatedly do. Excellence, then, is not an act, but a habit. Try out Justly and start building your habits today!
If we think about the ways for client-server communication, DatagramSocket comes to our mind. but the problem with the datagram socket is that we can’t assure that our data has been successfully and completely received by the server as it uses UDP protocol. It may be damaged or lost in between and the client won’t know.
So, the second option is to go with Websocket which provides bi-directional communication over a single TCP connection. Websocket is suitable for applications that need to communicate with real-time events.
It’s important to take into consideration that WebSocket does not use http:// or https:// schema, rather it use ws:// or wss:// schema.
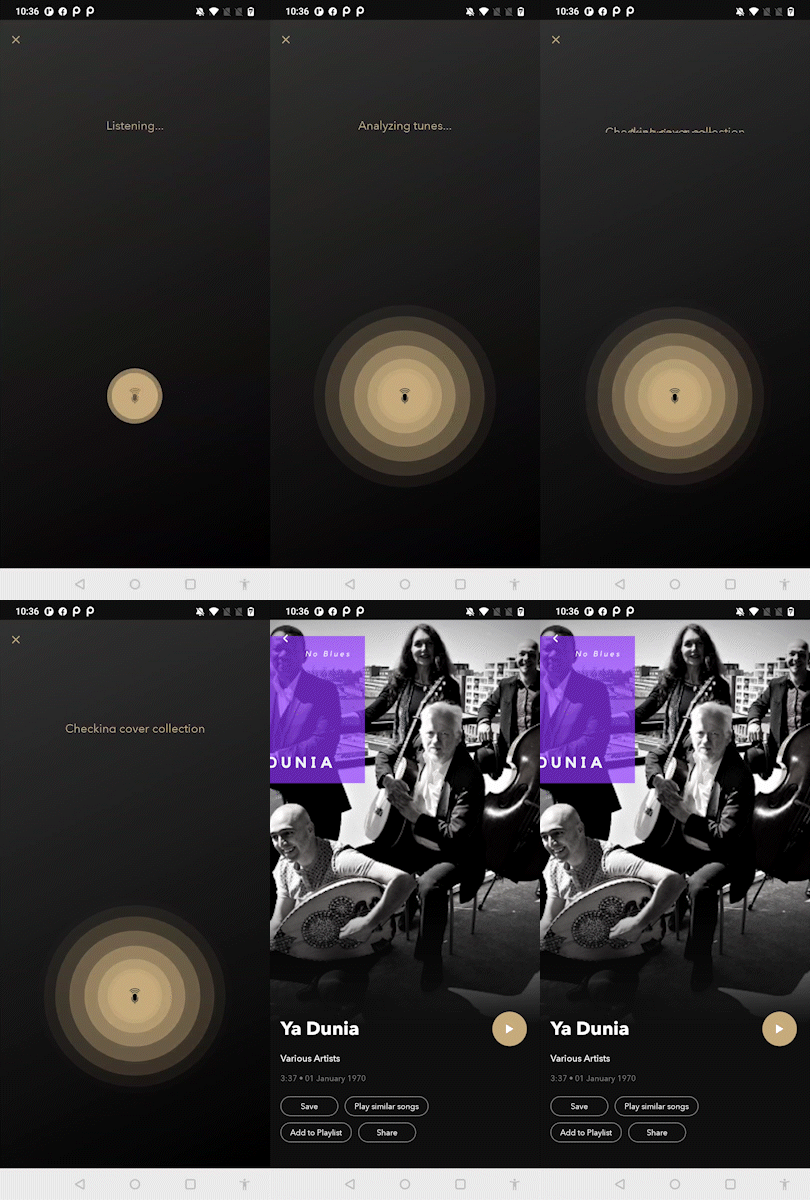
Here’s our app, we implemented Shazam like functionality by streaming audio from android phone MIC to the server to identify music playing around us.

Okay, enough discussion.
To make a blog post to the point and easy to understand, I have divided it into small steps.
Also, we’re not going to cover UI-related parts in this blog post, we’ll only discuss business logic to do live audio streaming. However, if you are interested in how to make that wave animation, check out our article on Jetpack compose animation examples.
Let’s get started!
1. Add Required permission
To access MIC, the app must have to ask for run-time permission. We’re not going to cover it in this blog post, if you’re not familiar check out the guide to request runtime permissions.
Add following permission in the manifest file.
<uses-permission android:name="android.permission.RECORD_AUDIO" />
<uses-permission android:name="android.permission.INTERNET" />
2. Add required dependencies
//okhttp
implementation("com.squareup.okhttp3:okhttp:4.9.3")
//coroutine
 implementation("org.jetbrains.kotlinx:kotlinx-coroutines-android:1.3.9")
3. Setup AudioRecorder
private const val RECORDER_SAMPLERATE = 44100
private val RECORDER_CHANNELS: Int = AudioFormat.CHANNEL_IN_STEREO
private val RECORDER_AUDIO_ENCODING: Int = AudioFormat.ENCODING_PCM_16BIT

class AudioStreamManager {

 private var audioRecord: AudioRecord? = null

 val BUFFER_SIZE_RECORDING = AudioRecord.getMinBufferSize(
          RECORDER_SAMPLERATE,
          RECORDER_CHANNELS,
          RECORDER_AUDIO_ENCODING
        ) * 4

 fun initAudioRecorder() {

    audioRecord = AudioRecord(
        MediaRecorder.AudioSource.MIC,
        RECORDER_SAMPLERATE, RECORDER_CHANNELS,
        RECORDER_AUDIO_ENCODING, BUFFER_SIZE_RECORDING
    )

    audioRecord?.startRecording()
   }
}
Here we have created our audio recorder by specifying MIC as an audio source, sample rate, channel config, audio format, and buffer size. The buffer size should not be smaller than getMinBufferSize which may cause initialization failure, that’s why we have to multiply it with 4.
4. Setup WebSocket client
Okhttp provides an easy way to integrate WebSocket clients.
val okHttpClient = OkHttpClient.Builder()
    .connectTimeout(30, TimeUnit.SECONDS)
    .readTimeout(30, TimeUnit.SECONDS)
    .build()
5. Create a request
We’ll use this request to connect a web socket.
val request = Request.Builder().url("our ws:// url").build()6. Create WebSocket
private var webSocket: WebSocket? = null

fun initWebSocket() {
    webSocket = client.newWebSocket(request, object : WebSocketListener() {
        override fun onOpen(webSocket: WebSocket, response: Response) {
            super.onOpen(webSocket, response)
        }

        override fun onMessage(webSocket: WebSocket, text: String) {
            super.onMessage(webSocket, text)
        }

        override fun onFailure(webSocket: WebSocket, t: Throwable, response: Response?) {
            super.onFailure(webSocket, t, response)
        }
    })
}
Here we have simply created a web socket with request and WebSocket listener.
onOpen: Invoked when a web socket has been accepted by the remote peer and may begin transmitting messages. We’ll start sending recorded bytes to the server via WebSocket once the connection is accepted by the server.
onMessage : Invoked when a text message has been received.
onFailure : Invoked when a web socket has been closed due to an error reading from or writing to the network. Both outgoing and incoming messages may have been lost.
7. Send recorded bytes to the server
private fun record()
{
  val buf = ByteArray(BUFFER_SIZE_RECORDING)

  scope.launch {
    try {
        do {
           val byteRead = audioRecord?.read(buf,0, buf.size)?: break
            if (byteRead < -1)
                break
            webSocket?.send(buf.toByteString(0, byteRead))
        } while (true)
    } catch (e: Exception) {
        Timber.e(e)
        stop()
    }
  }
}

fun stop() {
    webSocket?.cancel()
    audioRecord?.stop()
    audioRecord?.release()
    audioRecord = null
}
Conclusion
Pretty simple, we have read data from the audio recorder and just sent it to the server. Whenever a server sends a message back to the client we’ll receive it in onMessage callback of WebSocketListener
That’s it!! Hope now you have a basic idea of how audio recording and live streaming works on android.
Keep up with the live streaming!! 🚀
Related Useful Articles

Whether you need...
- *High-performing mobile apps
- *Bulletproof cloud solutions
- *Custom solutions for your business.

